Print Anything You Can Photograph
Upload a photo, sketch or piece of concept art and get a textured 3D model you can export as STL in about a minute. Skip the sculpting and go from idea to build plate the same afternoon.
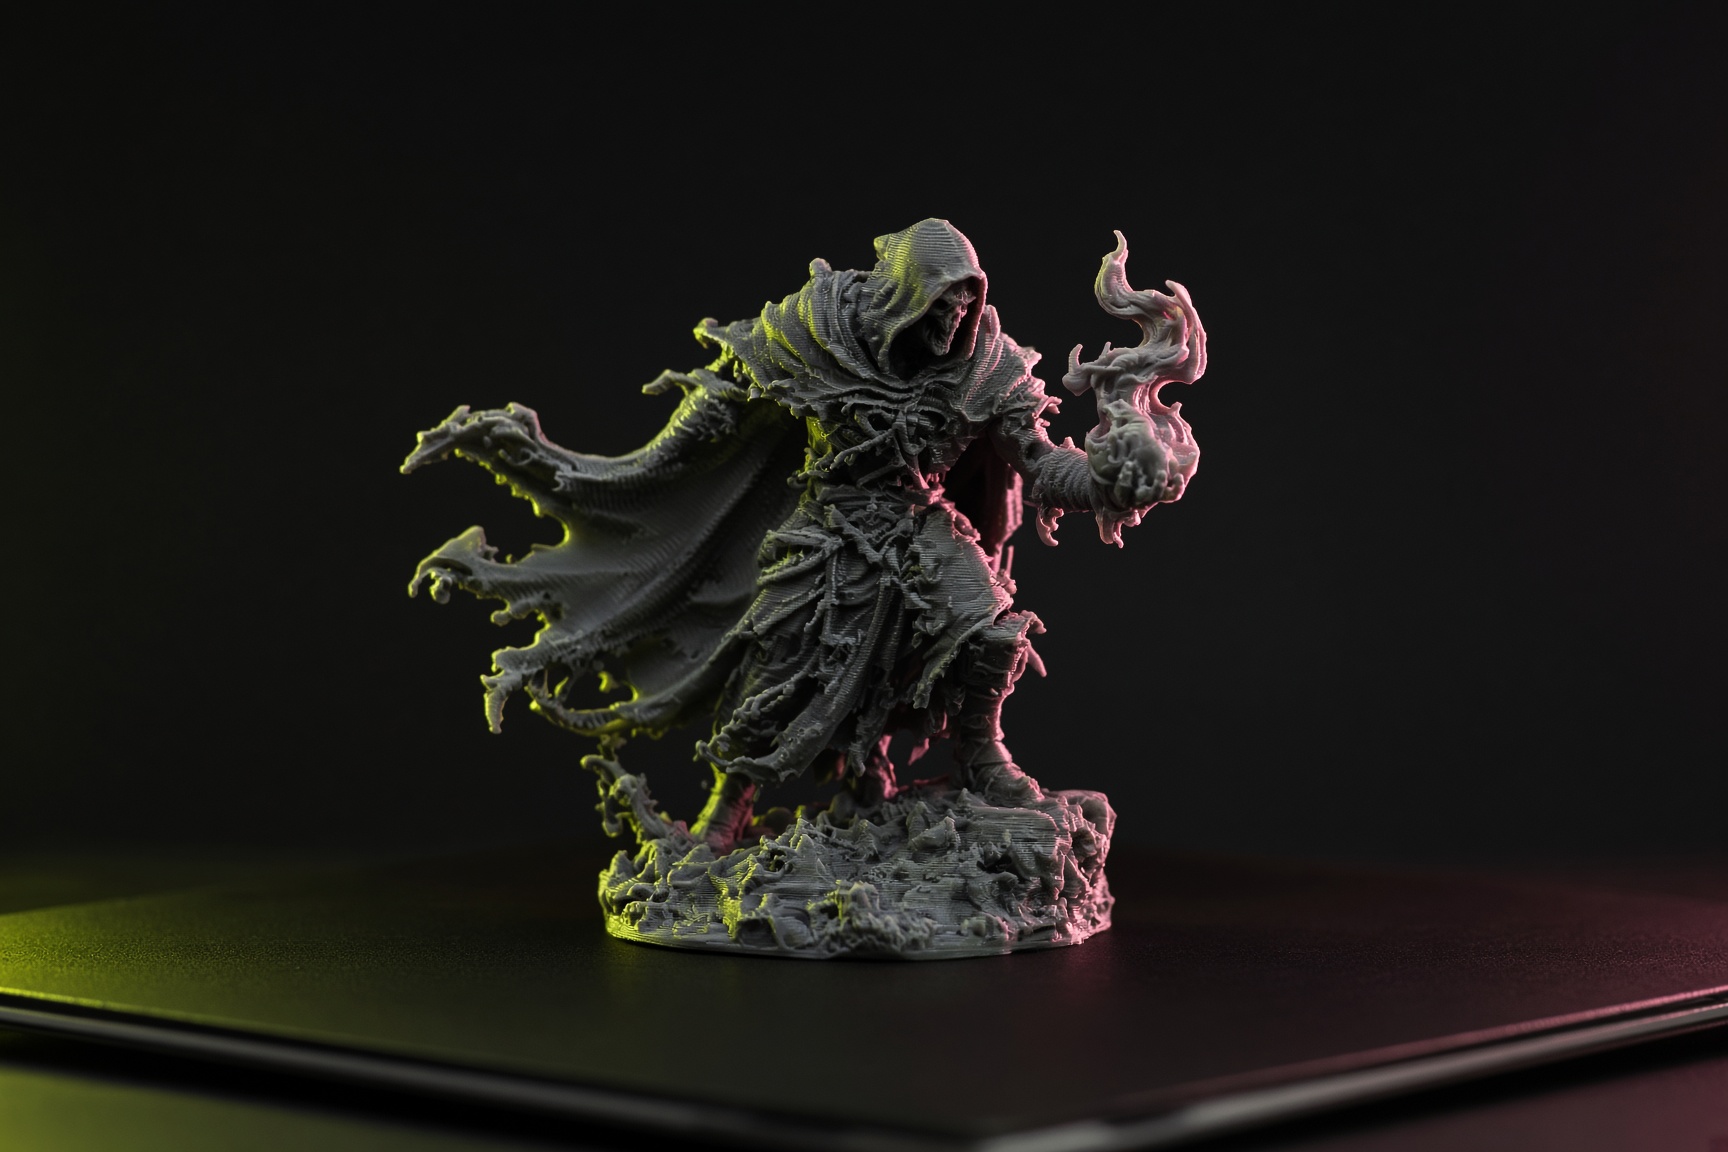
Your best print ideas are stuck behind weeks of modeling
Every maker knows the gap between the idea and the first layer. Here is what usually fills it, and how Cameo3D closes it.
Sculpting eats your week
A custom figure can mean days in Blender or ZBrush before you ever press print. Customers do not wait that long, and your own ideas go cold.
Scanning gear costs real money
Scanners and photo rigs are slow to set up, and shiny or dark objects fight you the whole way. That is a lot of effort for one print.
Failed prints burn filament
Thin walls, floating bits and bad orientation waste hours and spools. You find out at layer 200, not before you hit slice.
From camera roll to build plate in four moves
No modeling skills and no new software. If you can share a photo, you can start a print.
Upload your photo
Snap the object or pick a sketch. One clear subject on a plain background gives the cleanest mesh.
PNG, JPG, WebPGenerate the model
Cameo3D builds the shape and paints the textures. Most models are ready in about a minute.
About 1 minuteCheck before you commit
Spin it around, flip to wireframe and look for thin spots and loose bits while it costs you nothing.
Wireframe viewExport, slice, print
Download the STL, drop it into your slicer, set the size and orientation, then press print.
STL or OBJFail fewer prints. Score your model before you slice.
A good looking model is not always a good print. Run through these six checks, tick the ones that apply and watch your readiness score climb.
- Catch thin walls and floating parts while you can still change the image
- Save filament, resin and hours of printer time
- Works as a pre-flight list for clients and print farm crews
Know the cost and time before the printer starts
Slide the size, pick a material and get a quick ballpark for a figurine style model. Handy for quotes and for deciding what is worth printing.
Pick the right plastic the first time
The same STL prints very differently in different materials. Use this quick guide to match the job.
Print things people actually want
From a GoPro mount to a figure of yourself for the desk. Pick a category and see what one photo can become.
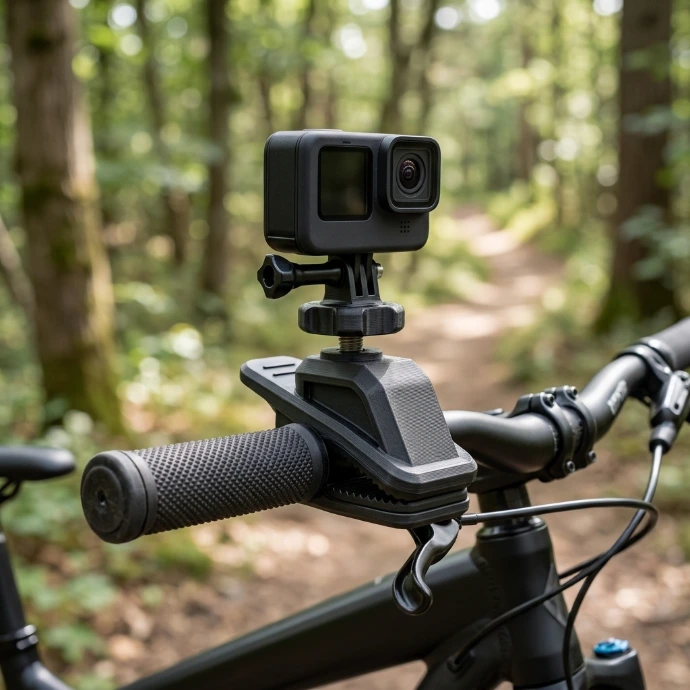
Useful gear, designed in minutes.
GoPro mounts, phone stands, cable holders and tool organizers. Photograph the problem, print the fix.
Start from this photo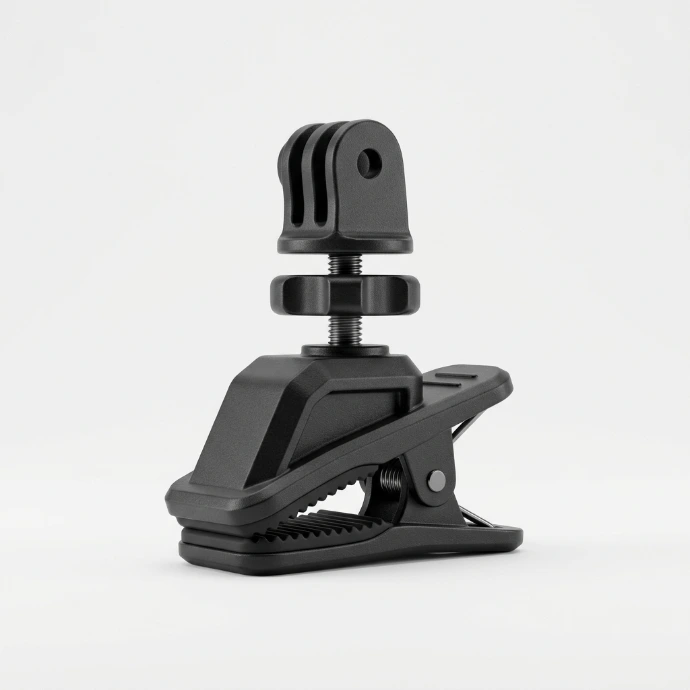
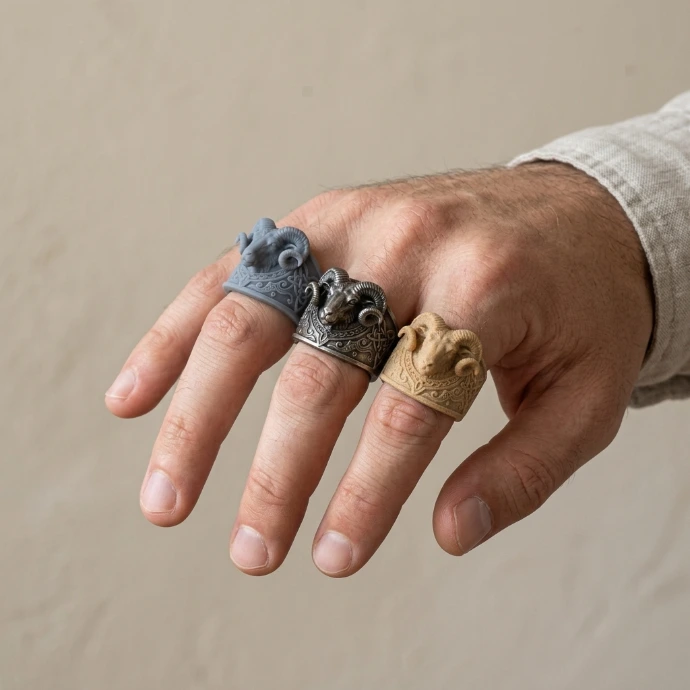
Rings and charms with real presence.
Statement rings, pendants and cufflinks from a sketch or photo. Print in resin, then cast or paint.
Start from this photo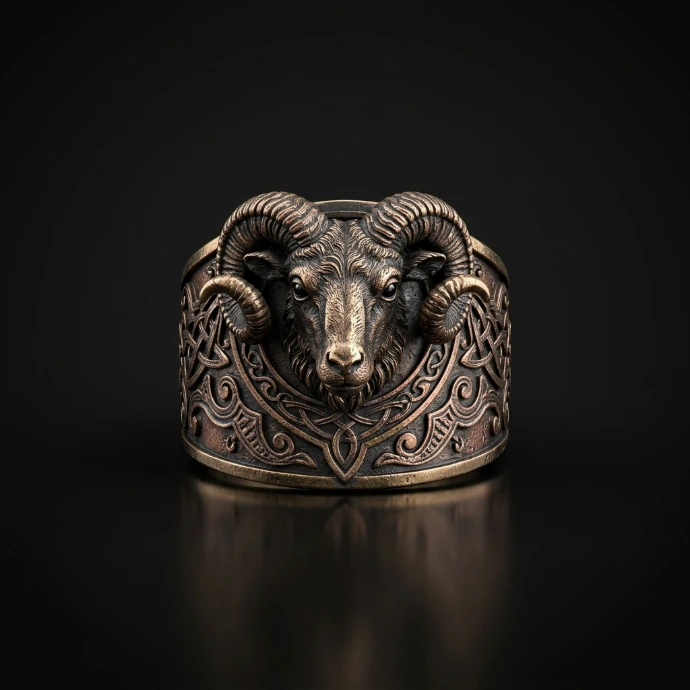
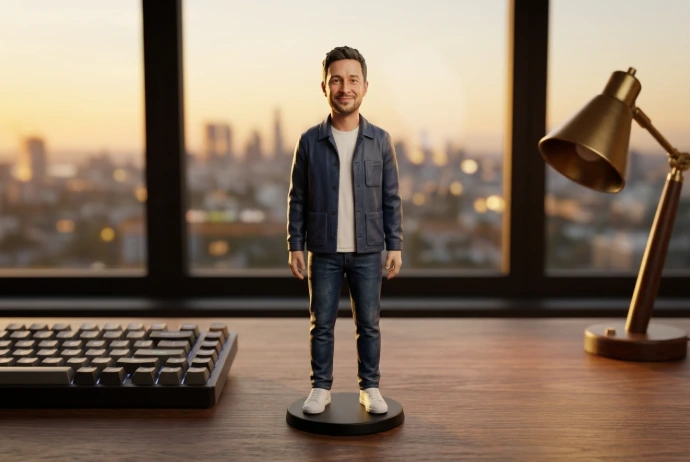
You, as a figure for your desk.
Turn a portrait or a pet photo into a figurine for a desk, a shelf or a gift.
Start from this photo
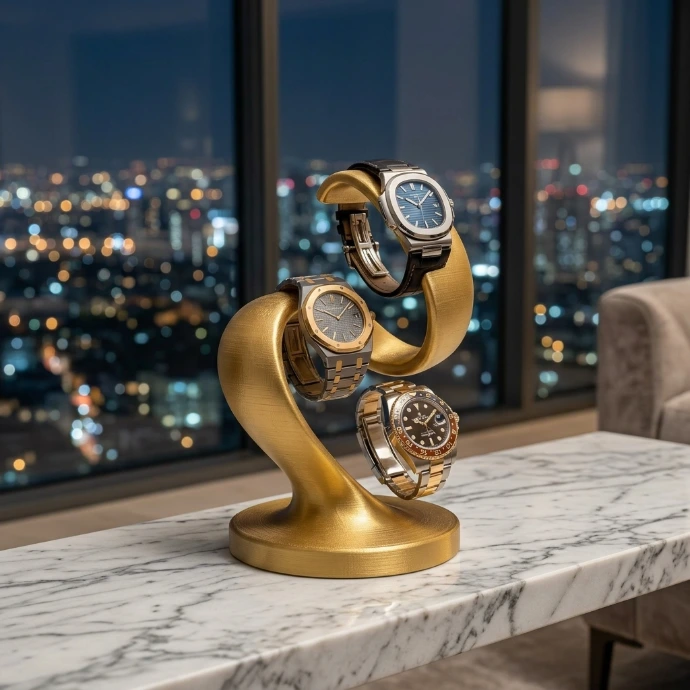
Showpieces for a serious shelf.
Watch stands, whisky trays, chess sets and sculptural bookends. Print in resin and finish with metallic paint.
Start from this photo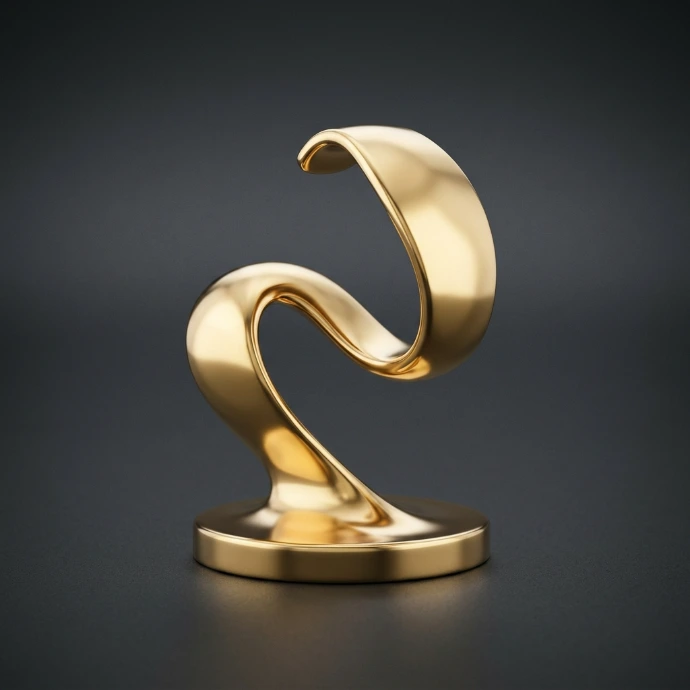
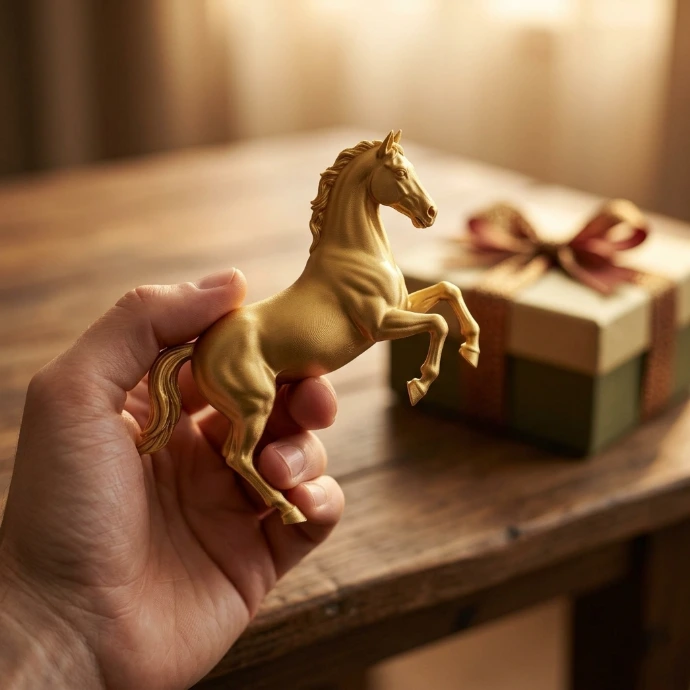
Gifts nobody else can buy.
Anniversary pieces, custom trophies and pet statues, all made from one photo.
Start from this photo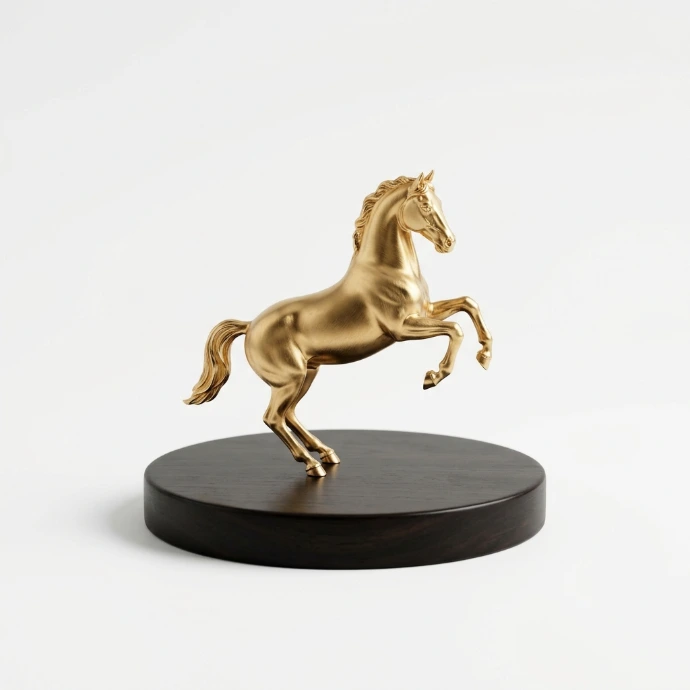
Turn photos into gifts, figures and custom parts
Skip the sculpting and send a clean STL to your printer. Perfect for pet figurines, cosplay props and desk toys.
Start Creating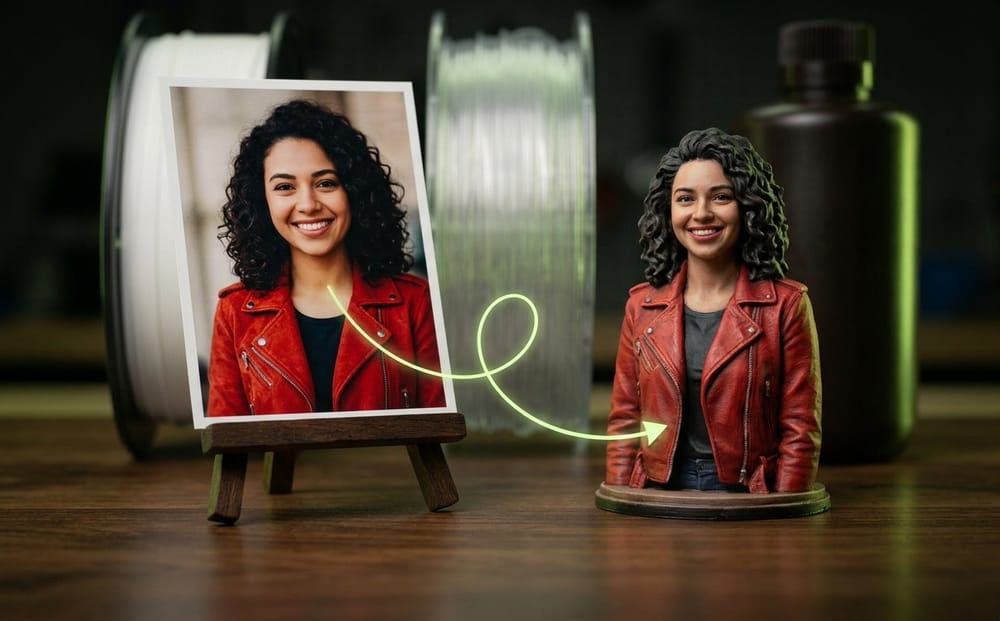
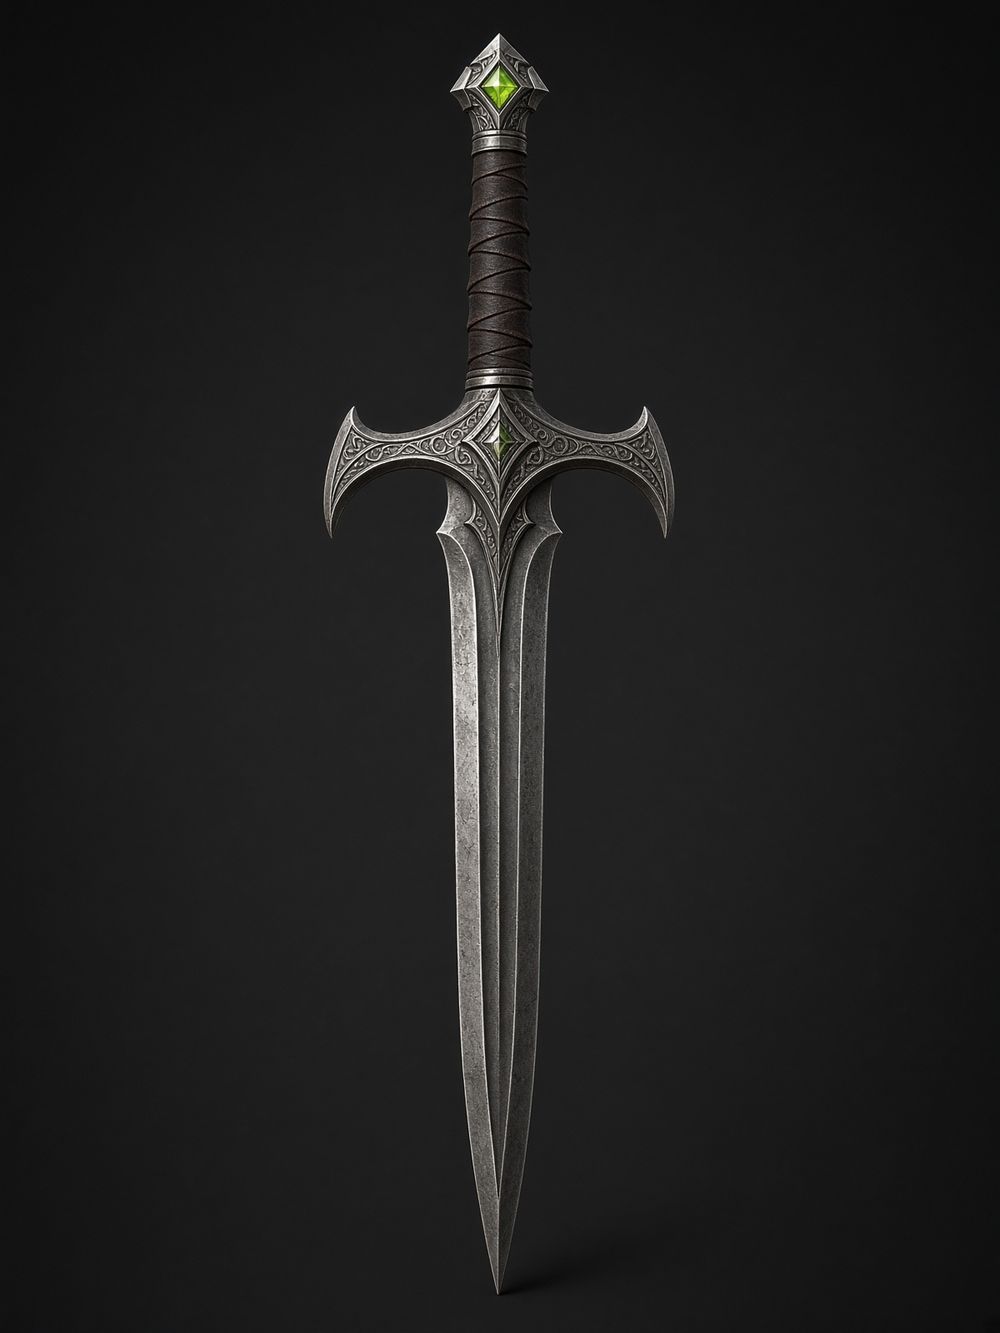
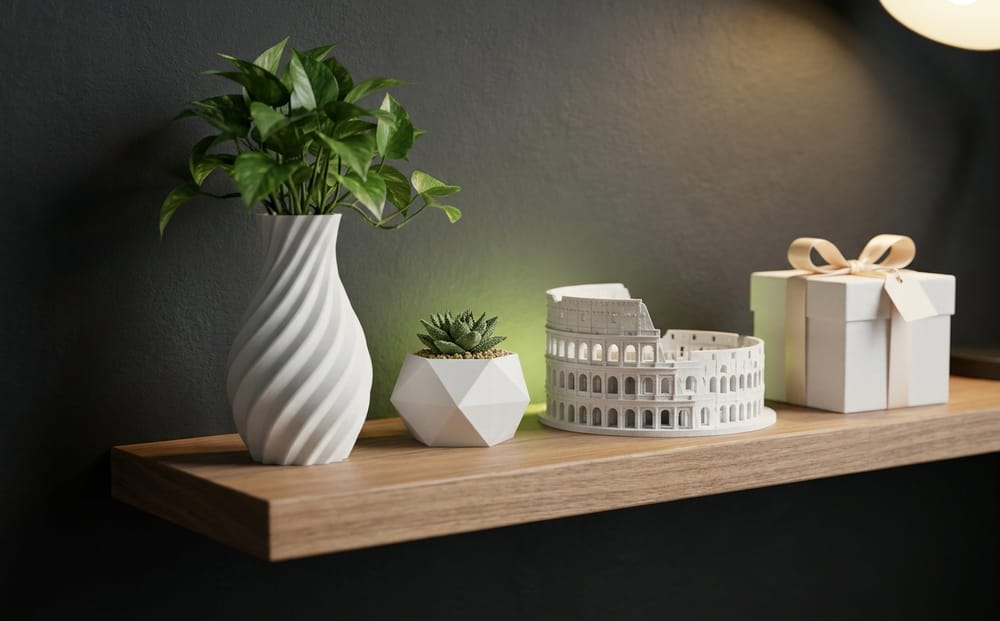
Quote faster and keep the queue full
Turn client photos into printable models in minutes, so you can show a result before the deposit lands.
Start Creating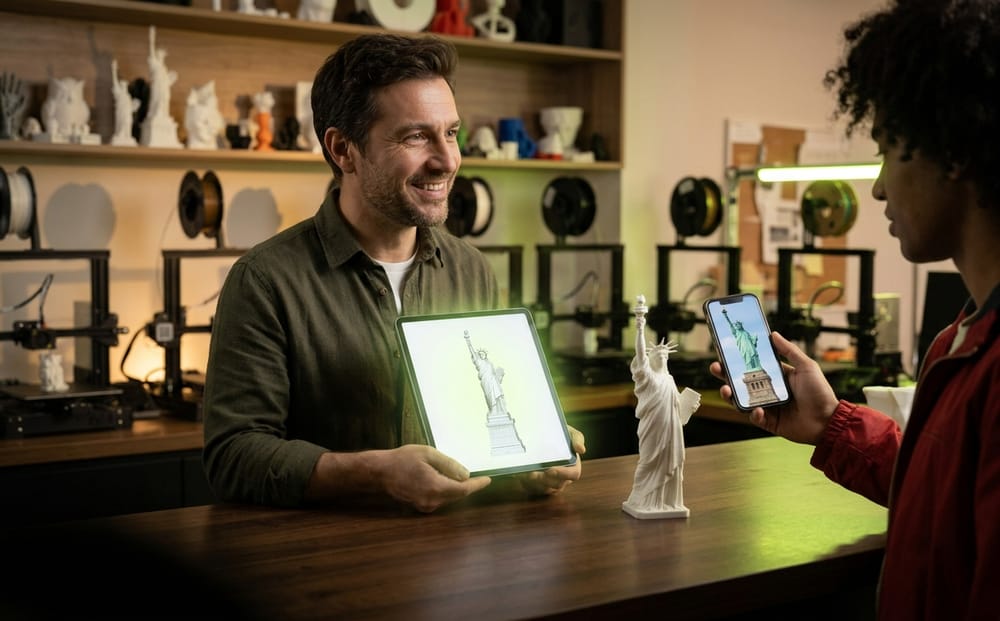
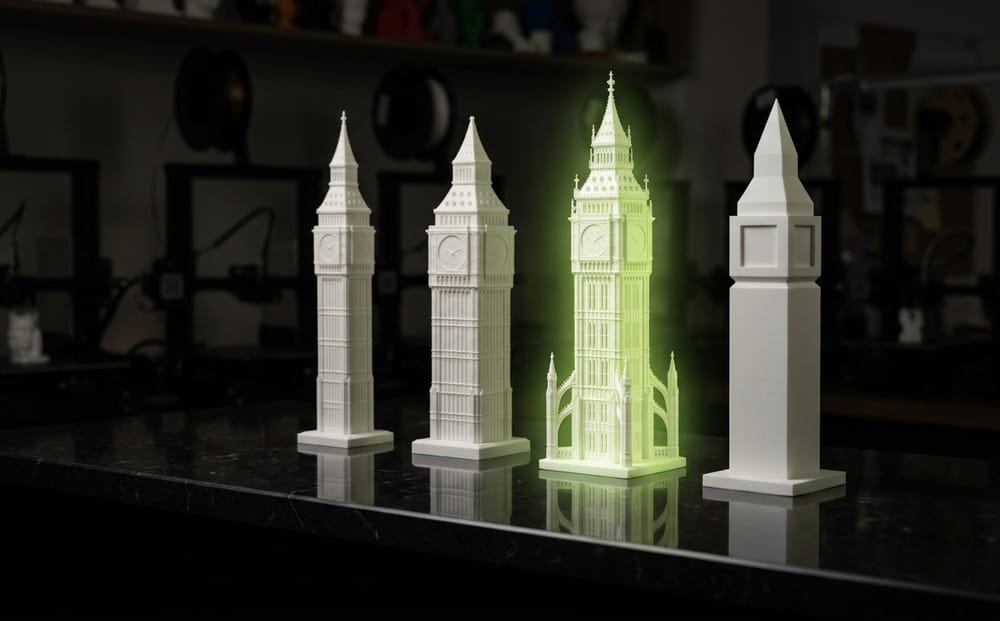
Start from a model instead of a blank viewport
Use the mesh as a base for sculpting, retopo or texturing in the tools you already know.
Start Creating
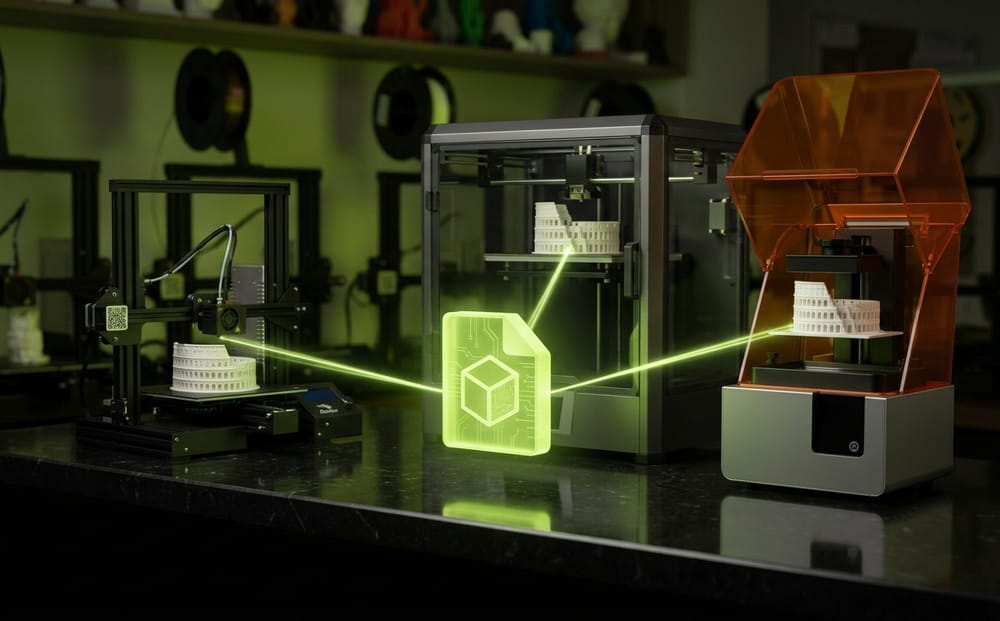
A clean mesh your slicer actually accepts
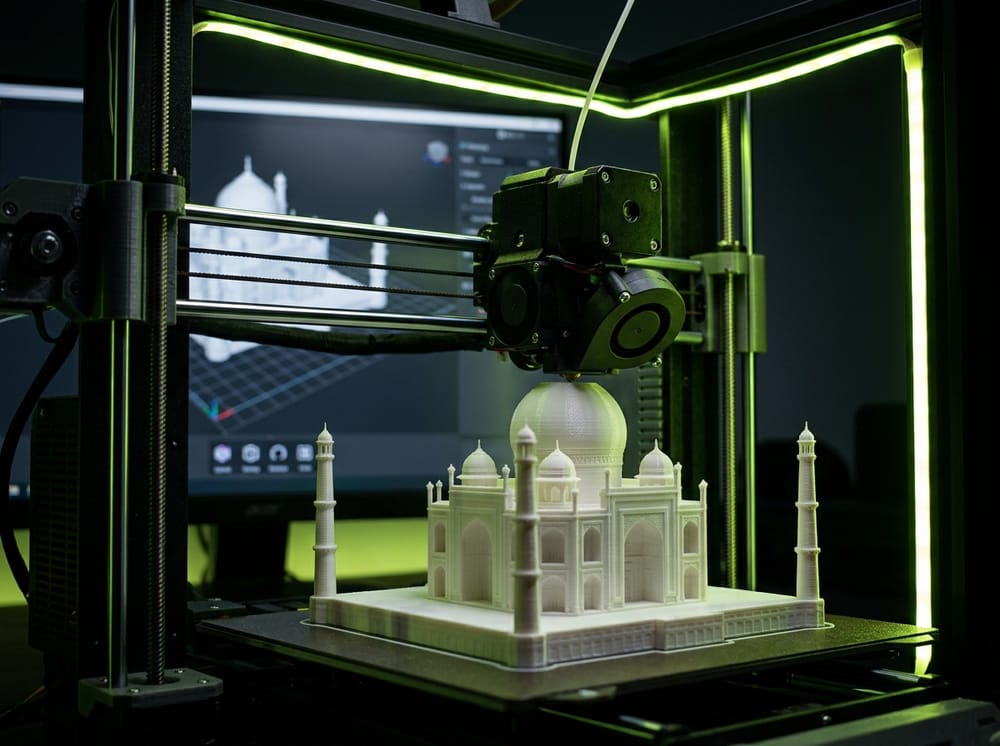
No broken shells, no holes to patch by hand. Your model comes out ready to slice and print.
- Clean, watertight manifold geometry
- Export directly to STL and OBJ
- Scale and orient it in Bambu Studio, Cura or any slicer
- Generate a few versions, print only the best one
From photo to printed object in 4 steps
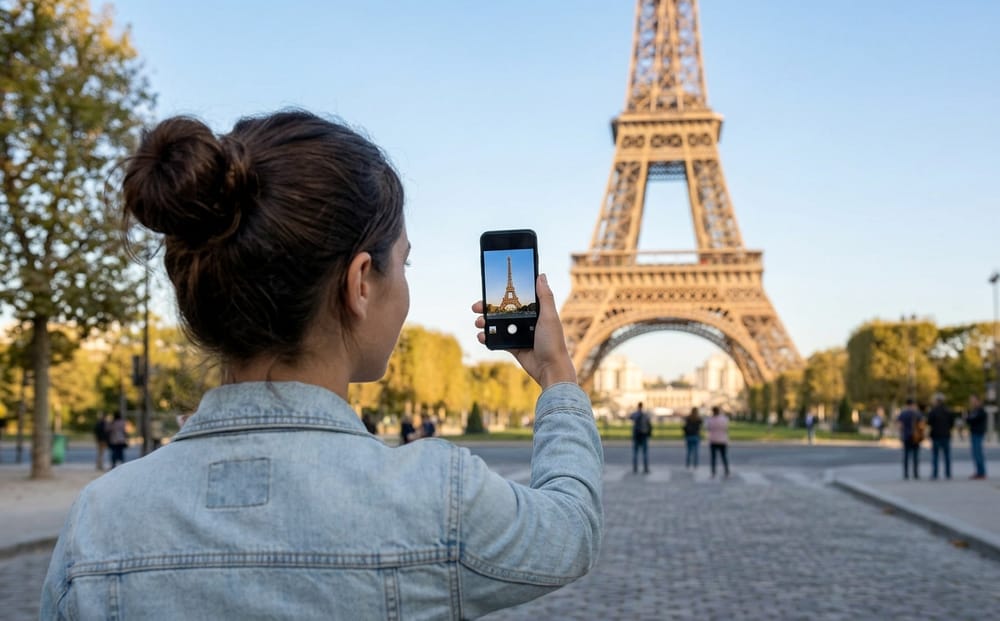 Step 1
Upload a photo
Any clear picture of the object, pet or character.
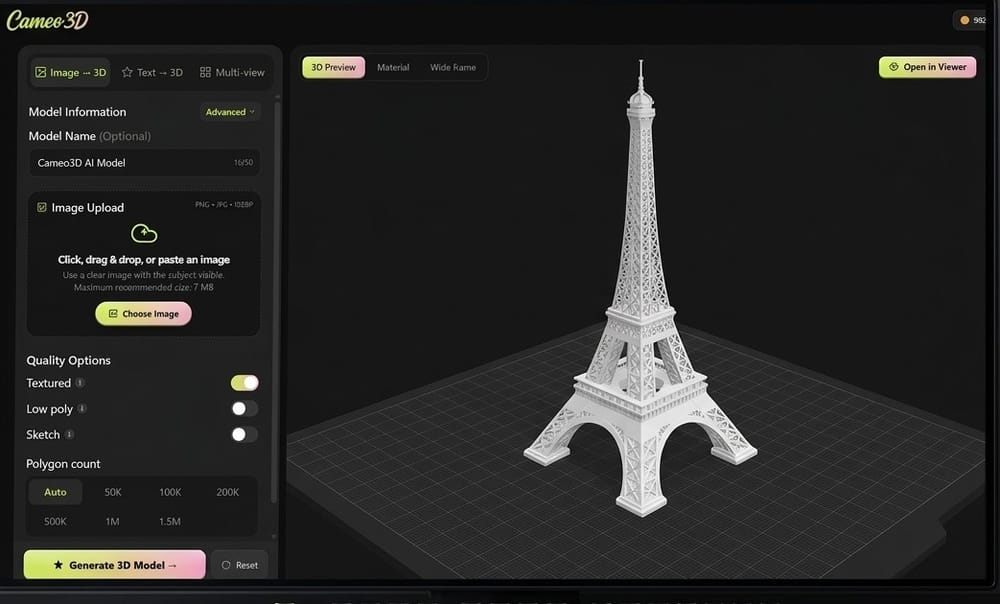 Step 2
AI builds the 3D model
A detailed mesh appears in about a minute.
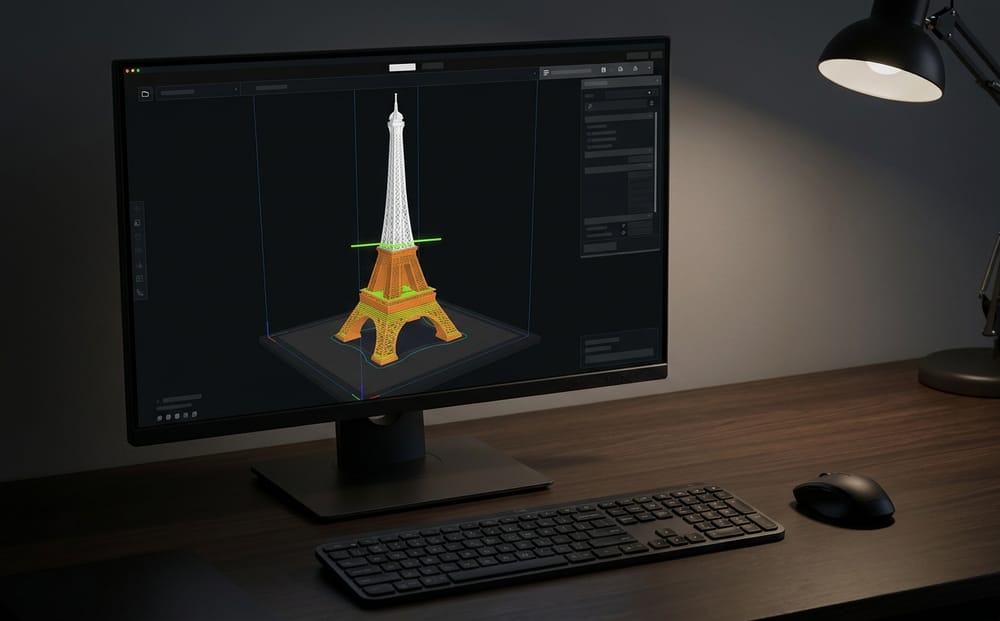 Step 3
Slice it
Download the STL and open it in your slicer.
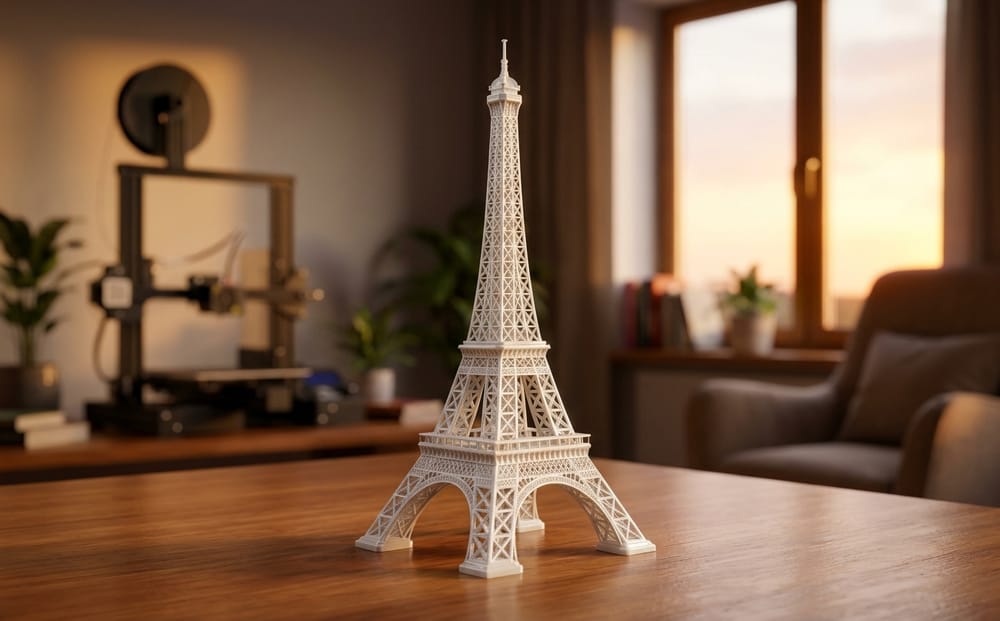 Step 4
Print it
Hold your idea in your hands, same day.
Print better, waste less
Short, practical tips from the print bed.
 Settings
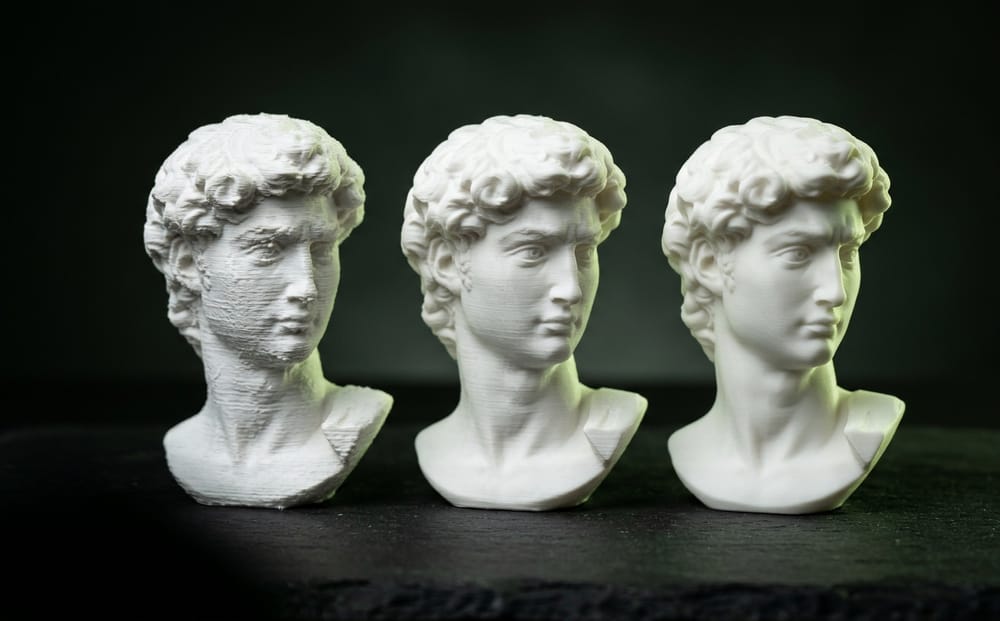
The best layer height for figurines
0.12 to 0.16 mm keeps faces and fabric folds crisp without printing forever.
 Orientation
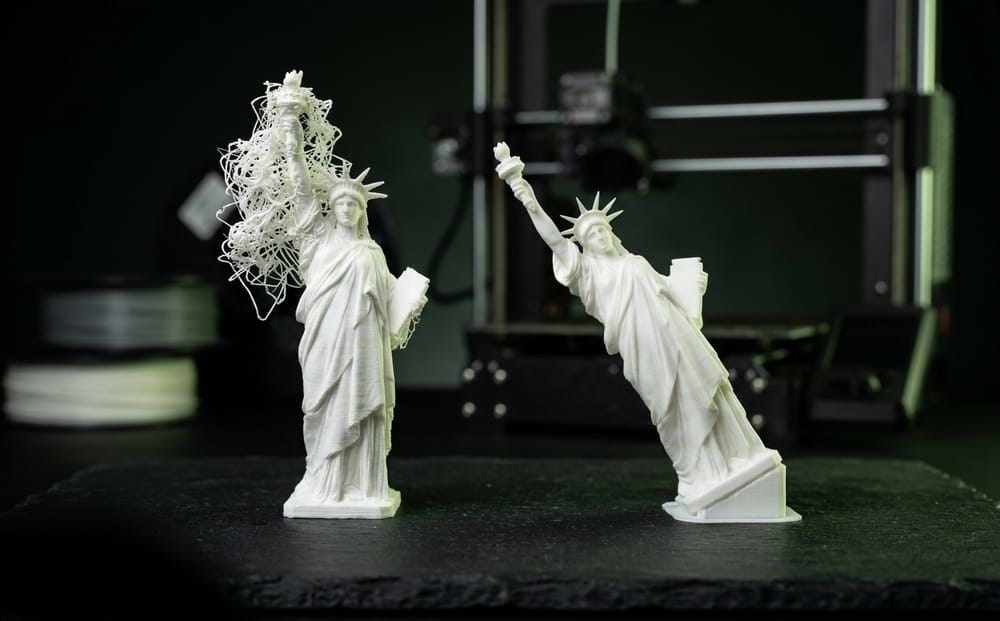
Orient a model to avoid supports
Put the widest flat side on the bed and turn the steepest overhangs away from the nozzle.
 Materials
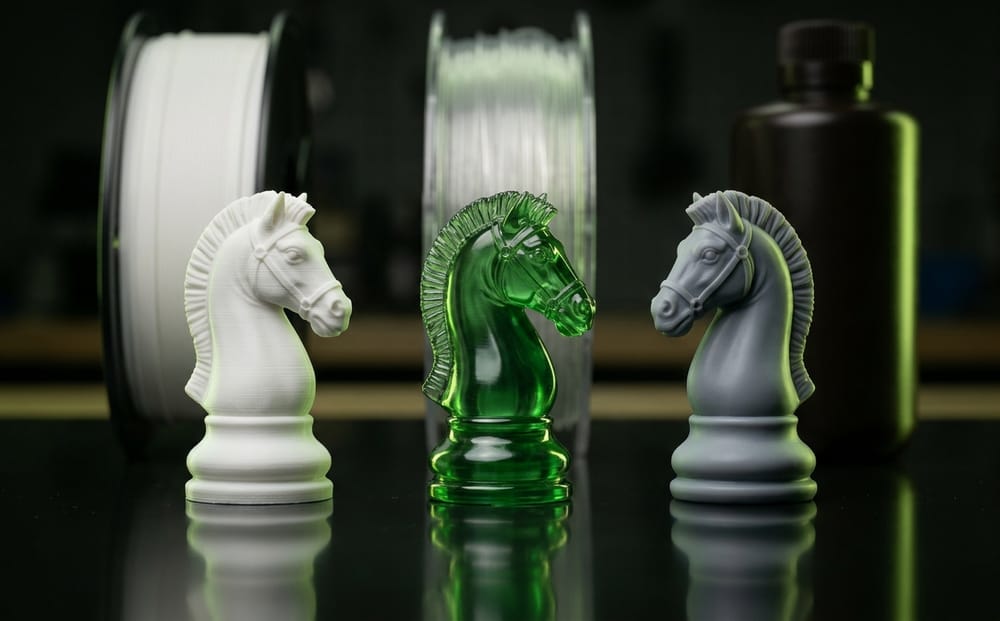
PLA, PETG or resin for fine detail?
Resin wins on tiny detail, PLA on ease and cost, PETG on toughness.
 Savings
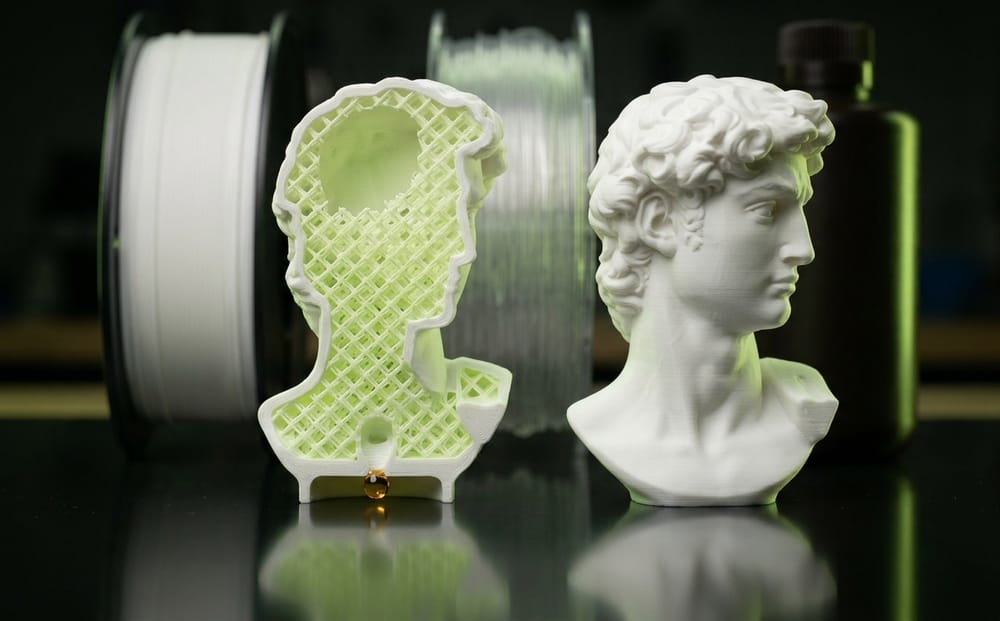
Hollow it out and save material
Hollowing with drain holes cuts resin use. For display pieces, 10 to 20 percent infill is often enough.
Questions printers ask us
Straight answers before you spend a single gram of filament. Still unsure? Try it with one photo. Your first model is free.
Start creatingWill my model print without supports?+
It depends on the shape. Overhangs steeper than about 45 degrees usually need supports. Rotating the model so its widest flat side sits on the bed often removes most of them, and your slicer shows exactly where supports will go.
Which file should I use for printing?+
Use STL for most printers and slicers. OBJ also works and keeps texture information, which is useful if you want to paint or color-separate parts in your slicer.
How big can I print it?+
Your build volume decides that. STL files carry no units, so set the final height in your slicer and check it against your printer before slicing.
My slicer reports errors. What now?+
Most models slice fine. If yours does not, try the automatic repair in your slicer, or run the file through our STL repair tool, then slice again.
Can I print in color?+
STL has no color. Multi-material and multi-color printers can use OBJ and the color tools in their slicer. On a single-color printer, you can print in one material and paint the result.
What kind of photo works best?+
One clear subject on a simple background with soft, even light. Front facing or three quarter views give the cleanest result. Sketches and concept art work too.
Can I sell prints made from my models?+
Please see the pricing and terms pages for the license that applies to your plan.
Can I try it before paying?+
Yes. Your first model is free. When you need more, the pricing page shows the credits and plans available.
Your next print starts with a photo
Upload one image and see your model take shape in about a minute. Then send it to your slicer and print.